| Linux-Mandrake: |
| Install Guide |
MandrakeSoft
January 2000 http://www.linux-mandrake.com
DrakX is the new program for installing Linux-Mandrake. It is a great improvement over the old installation program: it has a totally graphical interface, is very easy to use and allows you to go back at any time to previous configuration steps, even choosing the type of installation that you want depending upon your skill level.
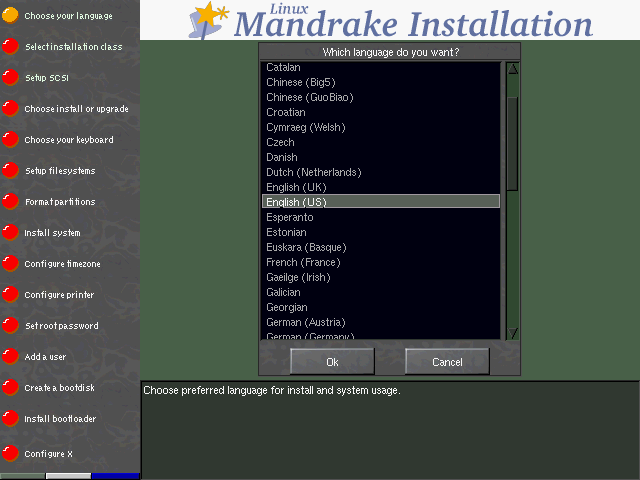
When you insert your Linux-Mandrake CD (or your boot-up disk), after the boot-up procedure, you get what is shown in figure 14.1.

DrakX is "theme-able"! If you don't like the default theme, you can always change it by clicking on one of the three bars on the bottom left. You can do this during any part of the installation procedure.
So much for the attractiveness side :) Now let's go on to a few
practical considerations.
On the left, you can see the various installation steps. Depending on the level of progress of the installation, some stages will or will not be available. If they are available, they will be highlighted when you move the mouse cursor over them.
The buttons representing the various stages can also be of different colors:
This guide assumes that you are performing a standard, step-by-step installation as shown in the following screenshots.
The first step is to choose your preferred language.
As soon as you have selected the language, you will automatically go on to the next stage:
After choosing the installation type you want, DrakX will ask you what installation class you want (figure 7.2).
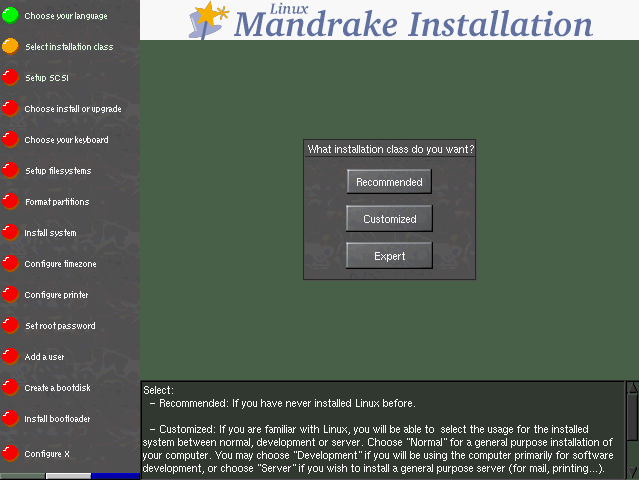
This manual will concentrate on the Recommended installation
class! If you choose another class, it probably means that you
have previous experience with Linux and can go through the various
sections without the help of this manual :)
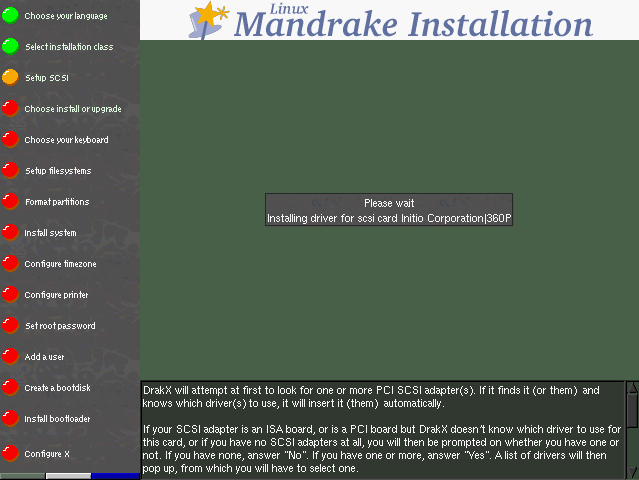
After selecting the installation class, DrakX will try to detect a SCSI PCI device on your system. If such a device is found, DrakX will automatically install the right driver (figure 7.3).
Should auto-detection fail, your SCSI card is probably an ISA: in this case, don't forget the information that you obtained from Windows, since these are the options that you need to send to the driver:
io=0x400 irq=5
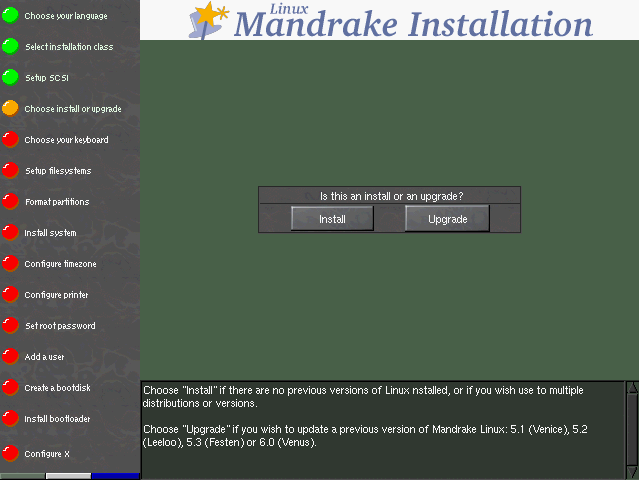
The help text speaks for itself: you will want to choose Install to install Linux for the first time on your machine (or to re-install on top of an existing installation), or Upgrade to update a previous version of Linux-Mandrake (figure 7.4).
Here too, DrakX will have selected the right keyboard for you (depending on the language you have chosen). However, you might not have a keyboard which corresponds exactly to your language: for example, if you are an English speaking Swiss person, you will want your keyboard to be a Swiss keyboard. Or if you speak English but are located in Québec, you will find yourself in the same situation. In both cases, you will have to go back to this installation step and select a keyboard from the list (figure 7.5).
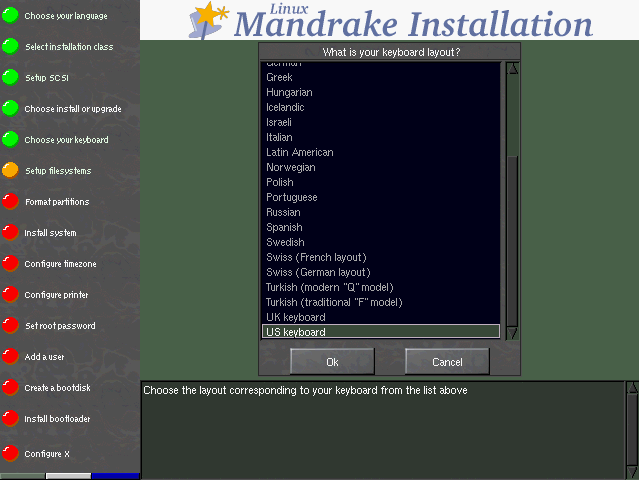
All you need to do is select the right keyboard from the list which appears in front of you.
Now you need to specify in DrakX where the various partitions on the hard disk(s) will be mounted. In Recommended mode, normally you won't have anything to do. If you have only a Windows partition it will be automatically resized and both the Linux partition and swap space will be created and formatted. Otherwise, if you have several Linux partitions, you should see on your screen a window looking like figure 7.6.
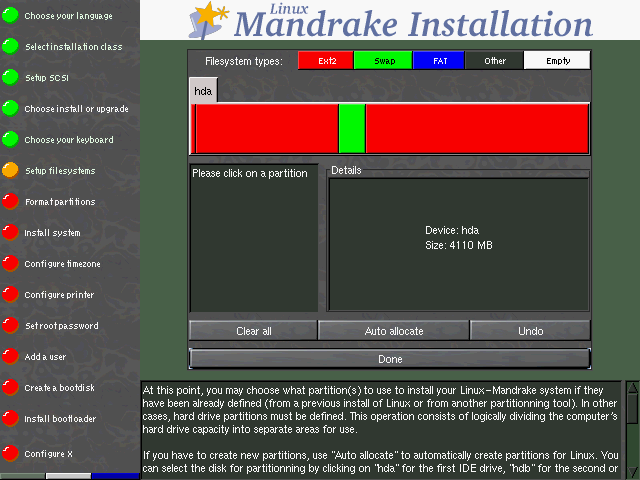
The Linux partitions are displayed in red. You must also have a green
one for swap. You just have to select the (red) partition you want with a mouse
click: a menu will then appear in the window on the right, in which you will
select Mount point. The window which appears then will ask you where
you want to mount it, and proposes / as a default, which is what you
want. If you want to have several mount points, you just have to repeat the
operation, but we won't say more here: if you indeed already have several
partitions on the disk, it means that you already know the principles :)
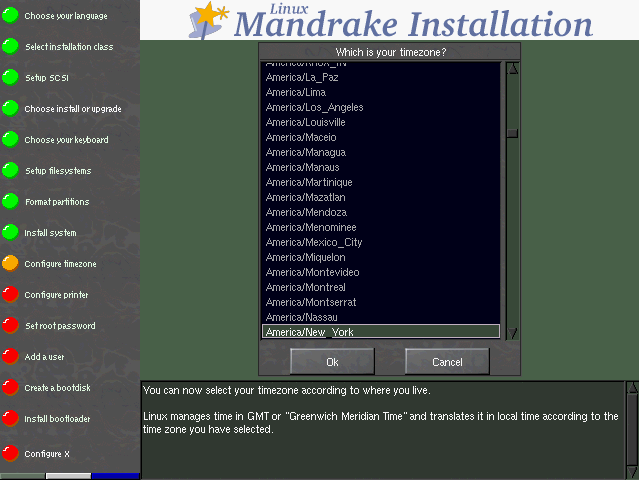
You can configure the clock according to the time zone you are in.
Here, you can choose the time zone in which you are located. (figure 7.7).
When printing from Linux, you need two things: first, you have to configure the access mode to this printer (local, remote) in order to access it; second, you have to configure the print filter, which varies depending on your printer model. To configure a printer, you will, of course, have to answer Yes to the question of figure 7.8.
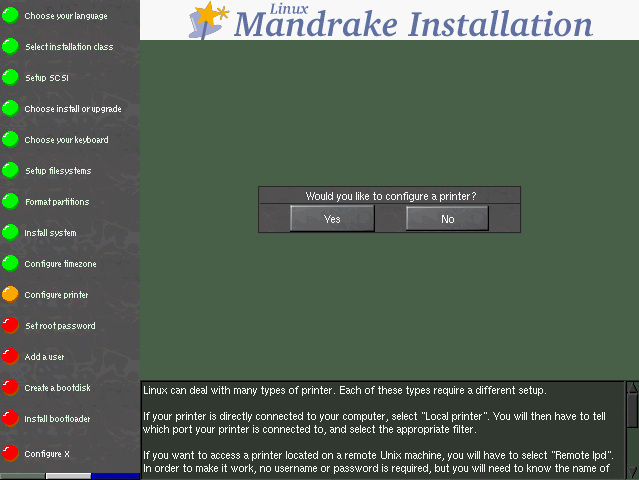
Linux supports several types of printers: apart from the printers physically connected to your machine (Local printer), you will also be able to print on shared network printers.
Several scenarios are possible:
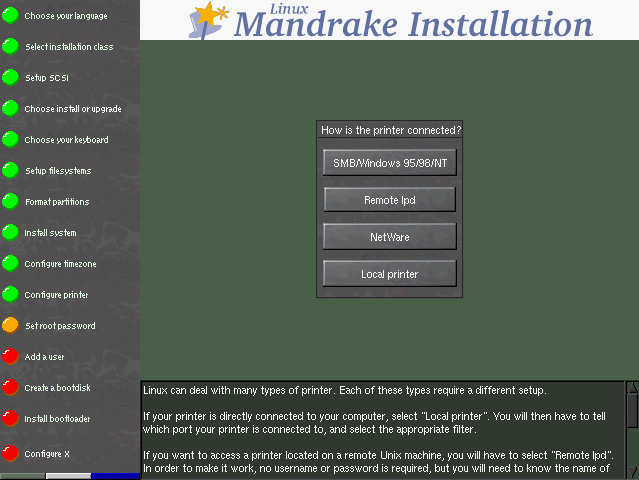
Whatever type your printer is, DrakX will ask you whether you want to test your configuration. In the event of a failure, you will be able to start over as many times as needed.
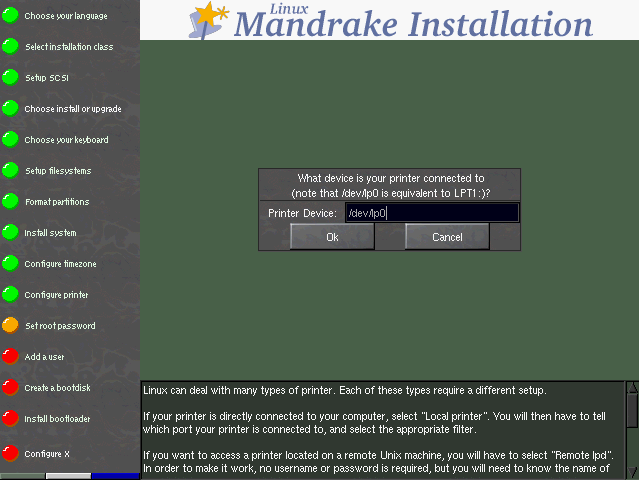
If you have a local printer, DrakX will try to detect the make and model: modern printers support this feature. Were it not to succeed, it will then ask you what port your printer is connected to. If you only have one printer, always choose /dev/lp0 (figure 7.10).
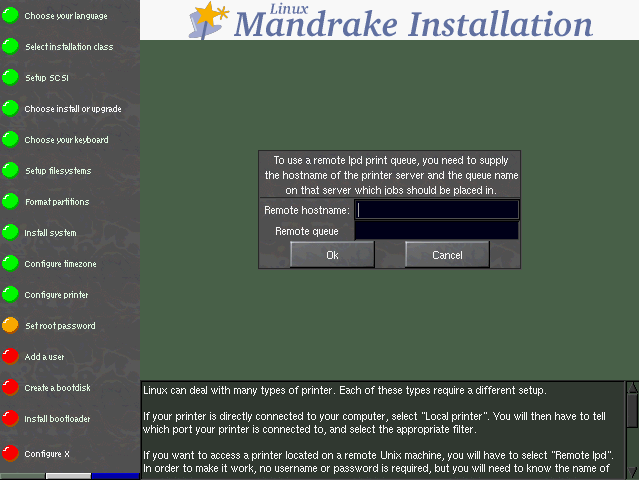
If you have access to a Unix printer, you will have to enter the name of the machine which serves the printer, and the name of the queue corresponding to this printer on the server (this does not have to be the same name as the one you have given locally); (figure 7.11).
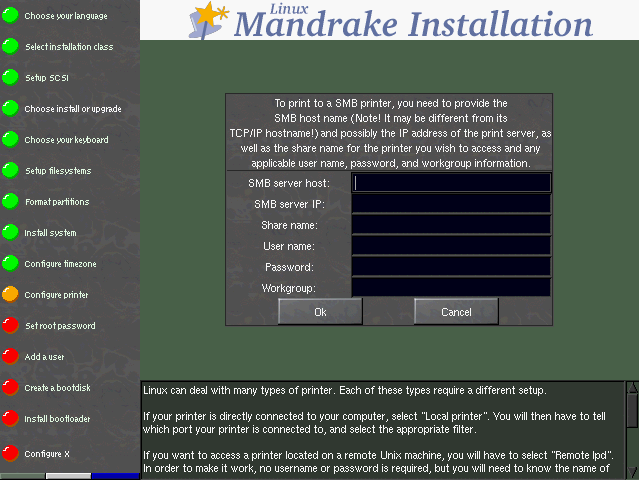
If you want to configure printing on an SMB printer, you will have to be careful about one thing in particular: the name of the machine that you have to provide is not the name associated with this machine by DNS! SMB has its own way of naming the machines, and when Linux wants to print on this printer, it will talk to the print server using the SMB protocol. So find out the name of the server from your system administrator. You will also be able to specify the print server's IP address. Finally, you will have to enter the user name, password and work group required to access the printer (figure 7.12).
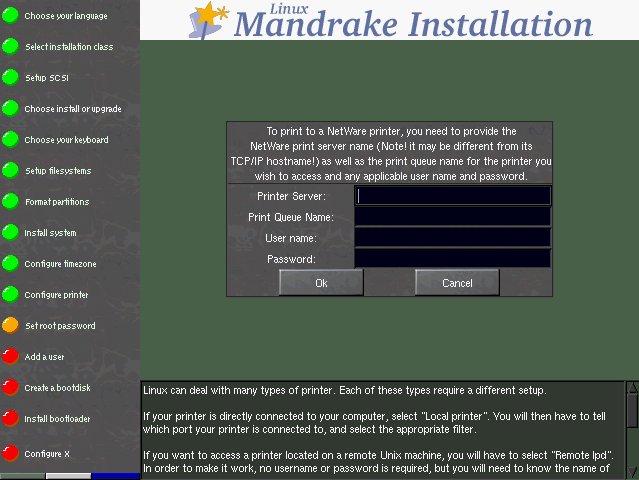
For Netware printers, the options are almost the same, with the name posing a problem again: this is the name associated with the machine by the IPX protocol (the protocol used by Netware). So you will have to ask the network administrator for it. You will also have to enter the user name and password that you need to access the printer (figure 7.13).
After configuring the type of access to the printer, you then have to configure the print filter: this is what will enable the printing system to transform the documents you want to print into data that the printer can understand (figure 7.14).
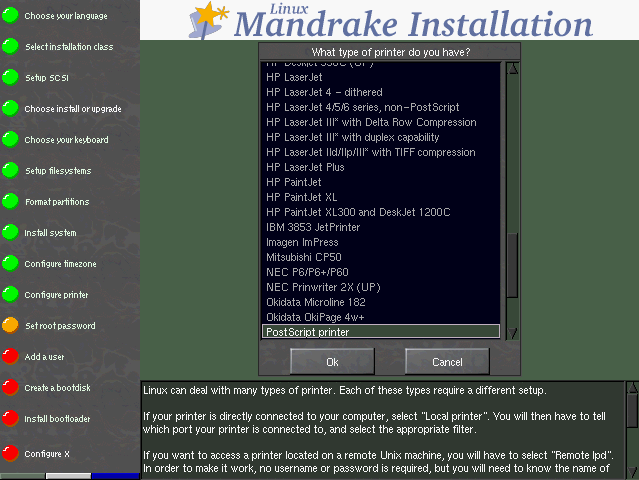
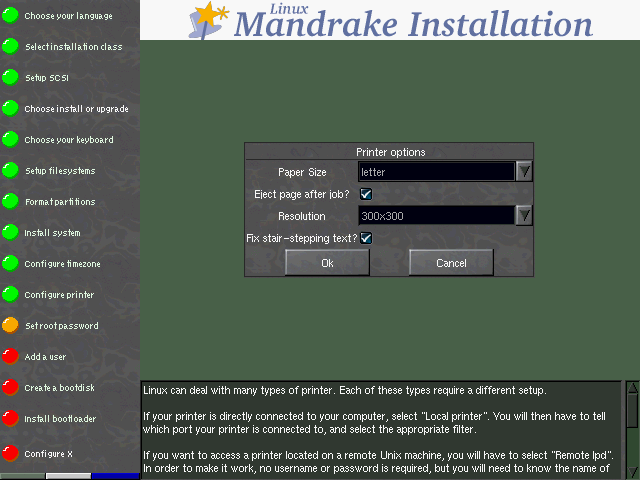
If you see no precise reference to your printer in the list of drivers which DrakX offers you, choose the most similar driver. Various options for configuring the driver you have chosen will then follow (figure 7.15).
First of all, you have to choose the paper size. The standard size is A4, but your mileage may vary. The resolution will depend on the capacities of the particular driver for your printer.
The option Eject page after job is useful for some printers which, in fact, do no eject the last page of a print job by default. Note that if your printer does not need this option, you will quickly see it during your tests: each time a print job ends, it will eject another white page...
The Fix stair-stepping text means that you can avoid a zigzagging effect on your print jobs. Answer Yes if you are not sure, but printers suffering from this defect are very rare.
Finally, you have to set the resolution for this printer. This will depend on whether the driver is Uniprint or not. If it's not (which is the case in figure 7.15), you will have a Resolution menu with the different resolutions which the drvier can handle. If it is Uniprint, this same menu will be called Uniprint driver options and you will have to refine your printer description. The resolution will be set according to this choice.
This is the most crucial point for the security of your Linux
system: you are going to have to enter the root password
(figure 7.16). root is the system
administrator and is the only one authorized to make updates, add users,
change the overall system configuration etc. In short, it can do
everything. That is why you have to choose a password which is
difficult to guess! DrakX will tell you if it is too easy. As
shown, you can choose to not enter a password, but we strongly advise
you to enter one!
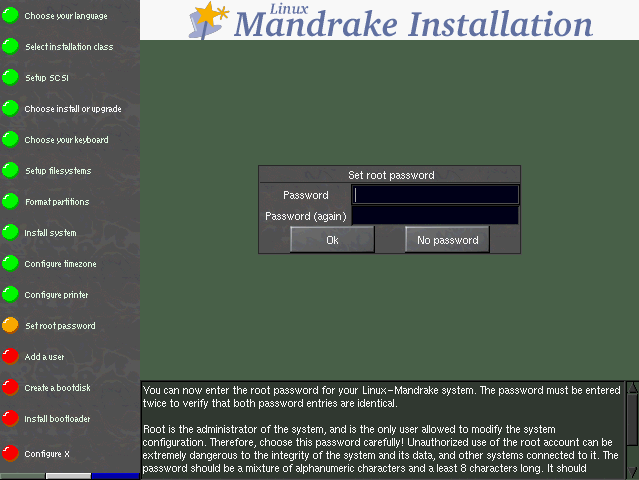
root password setupYou will have to type the password twice -- a typing error in the first attempt could be a problem if you do not repeat it when you connect up to the system...
You now have to add a new, non-privileged user to the system
(figure 7.17). Unlike
root, which is the administrator, this user will not be
entitled to change anything, except his own files and his configuration.
You will have to create at least one for yourself, and that is where you
have to begin: although it is very practical to log in as root
everyday, it is also very dangerous! The slightest mistake could mean
that your system would not work any more...
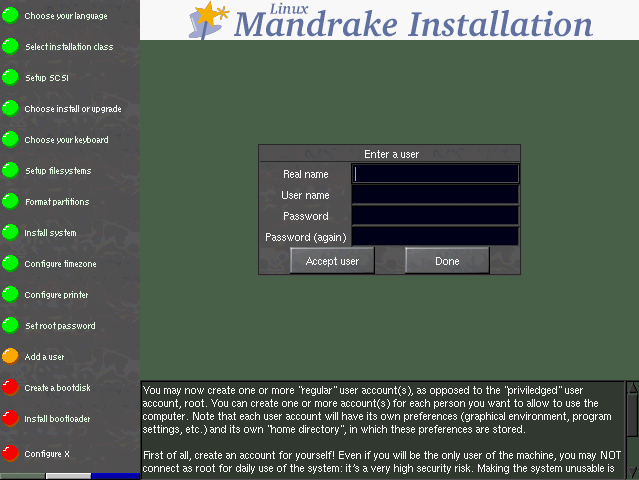
First you have to enter your real user name. This is not compulsory, of
course -- you can enter what you want. DrakX will
then take the first word you have entered in the box and will bring it
over to the User name. This is the name you will use to log
into the system. You can of course change it. You then have to enter a
password here. Of course, a non-privileged user's password is not as
crucial as that of root from a security point of view, but that
is no reason to neglect it -- after all, they are your files...
If you click on Accept user, you can then add another, and as many as you want. When you have added all the users you want, select Done.
DrakX will now ask you to create a boot disk for your Linux system (figure 7.18).
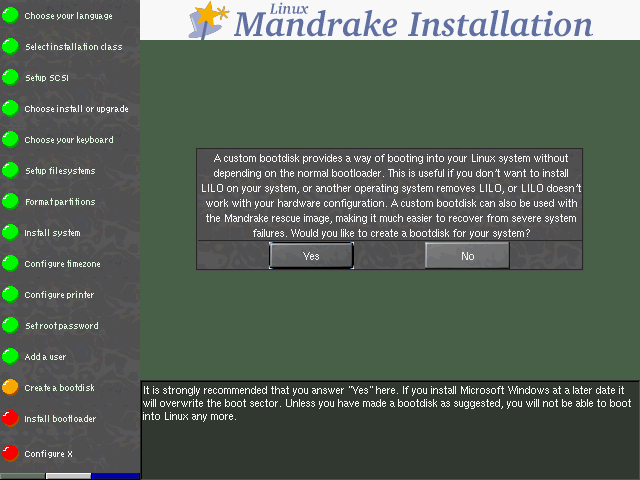
There are several reasons for this:
So you are strongly advised to say Yes here! Of course, the floppy disk inserted must be empty or must only contain data which you do not need. You will not have to format it: DrakX will rewrite the whole disk.
LILO (LInux LOader) is the boot loader for Linux. This stage is normally totally automated. In fact, DrakX will analyze the disk boot sector and will act depending on what it finds here:
If in doubt, DrakX will ask you where you want to install LILO (figure 14.19).
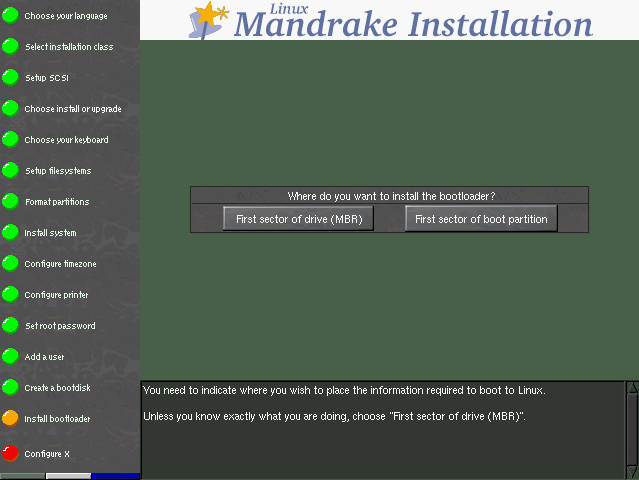
If you use System Commander, answer First sector of boot partition. If you want to use LILO instead of System Commander to start the machine, choose First sector of drive (MBR).
X (for X Window System) is the heart of the Linux graphical interface on which all the graphics environments bundled with Linux-Mandrake rely (KDE, GNOME, AfterStep, WindowMaker...). In this section, DrakX will try to configure X automatically.
It is extremely rare for it to fail. The only reason for it doing so is if the hardware is very old. If it succeeds, it will start X automatically, with the best resolution possible, depending on the size of the monitor! A window will then appear and ask you if you can see it (figure 7.20).
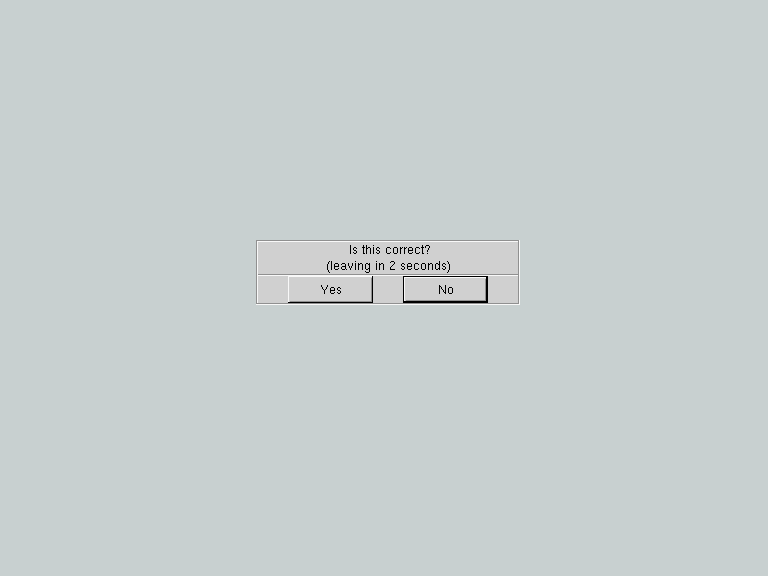
If you answer Yes, DrakX will then ask you if you want to start X directly on boot-up: this will give you the ability to directly run the graphical interface upon booting the system.
It can happen, though, that the first try isn't the good one (screen is too small, shifted left or right...). This is why, even if X starts up correctly, DrakX will then ask you if the configuration suits you and will propose to change it by displaying a list of valid modes it could find, asking you to select one.
There you are. Installation is now complete and your Linux
system should be ready to use. You can start Linux or
Windows, whichever you prefer, as soon as the computer has
booted up again. To access Windows on your new Linux
system, at the LILO boot: prompt the TAB key to display
your options.
To start Linux you can just press the Enter key since
this is now the default selection. To launch into Windows, just
type windows. Your chosen system will start up automatically.
Note: this applies in case you chose Linux as a default in the LILO setup.
Do not forget what we have already said: if you have to reinstall Windows one day, you will not see this invitation! So do not forget your emergency disk...